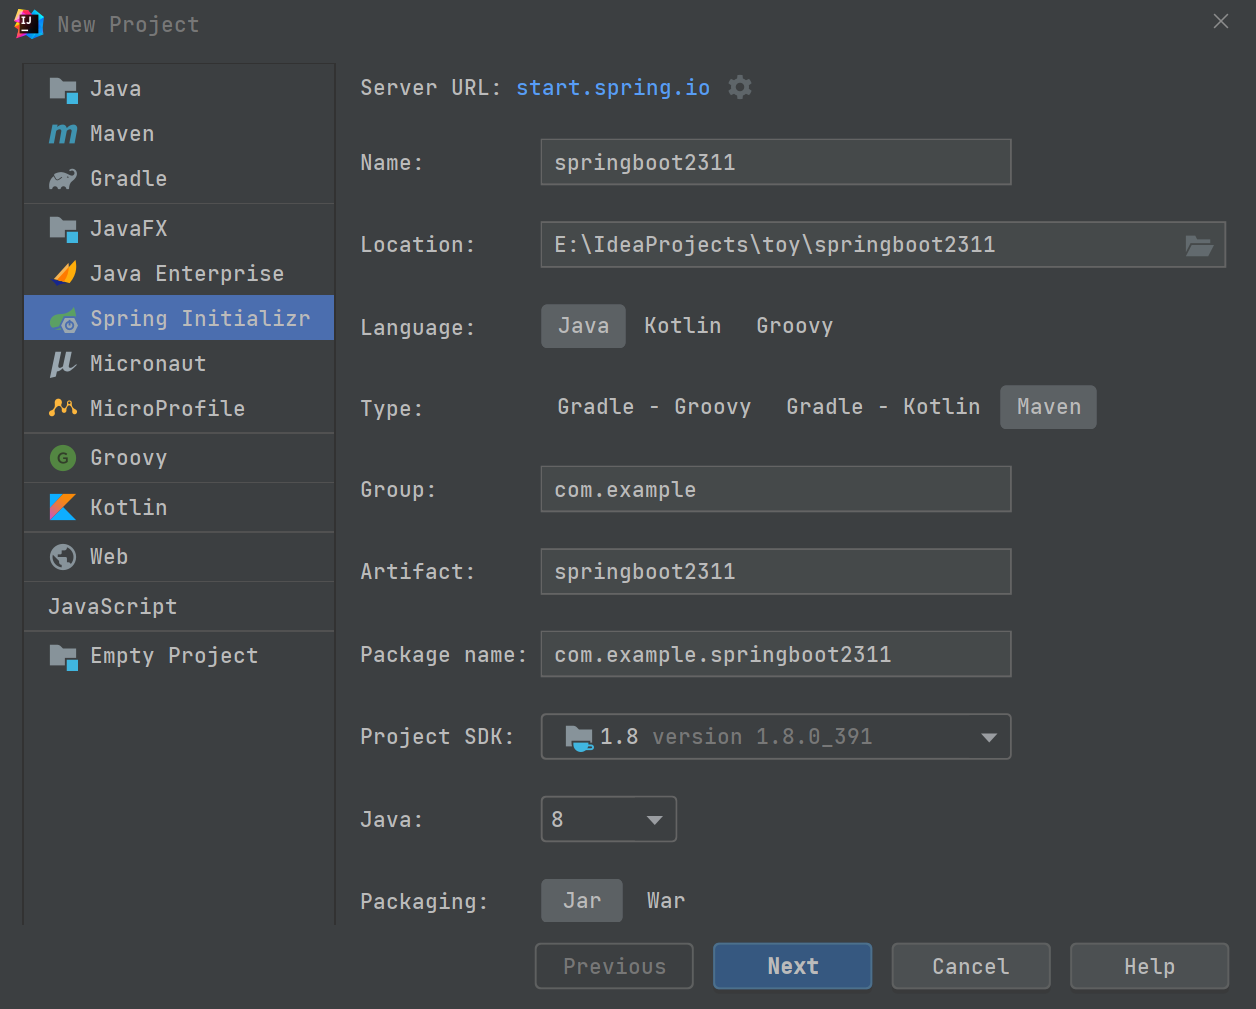
1. 新建项目
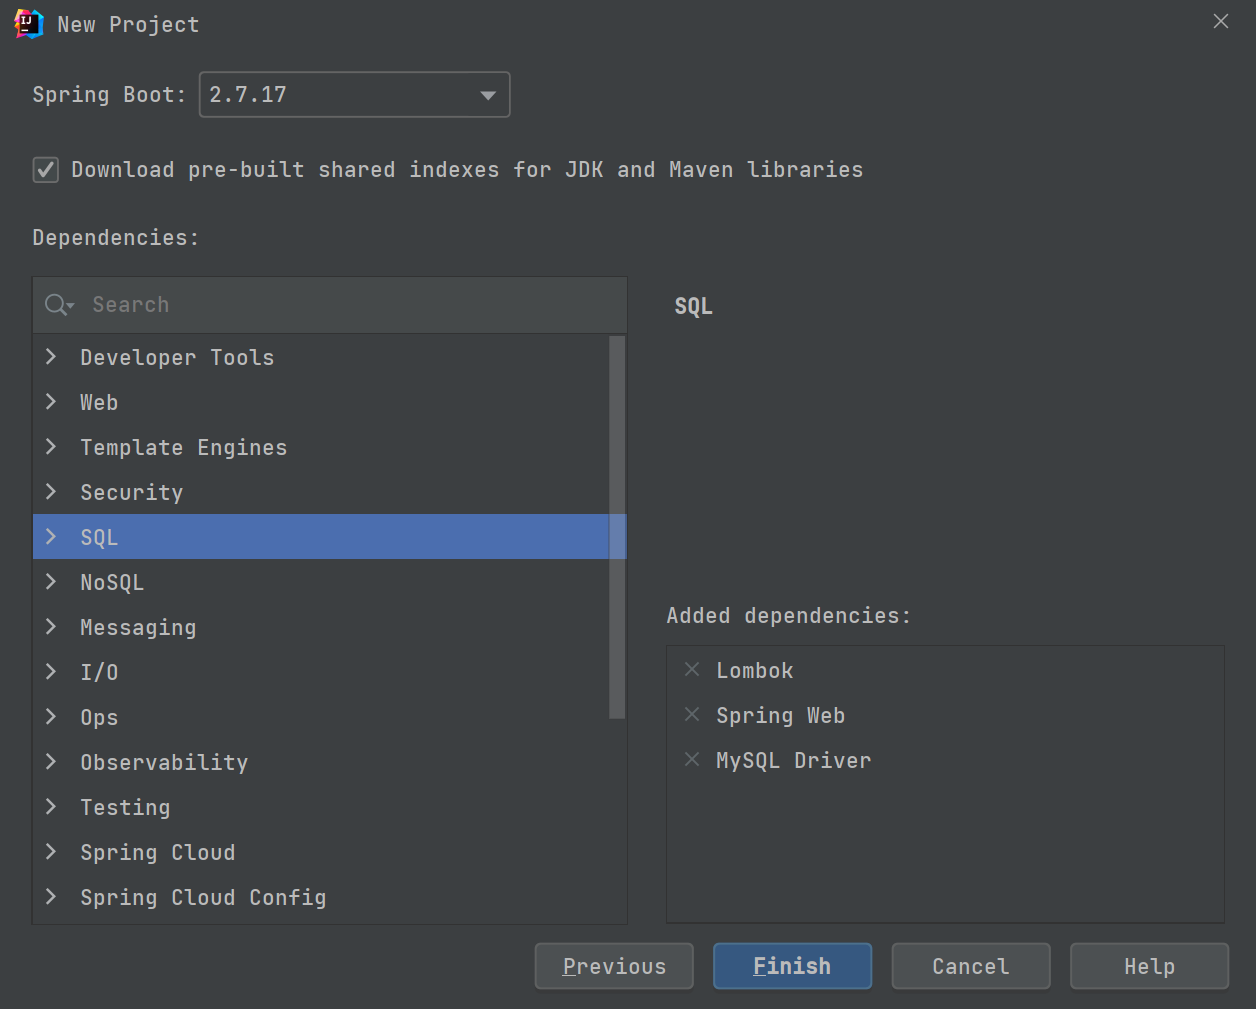
2. 选择依赖
3. 引入 MyBatis-Plus 依赖
<!-- MyBatis-Plus -->
<dependency>
    <groupId>com.baomidou</groupId>
    <artifactId>mybatis-plus-boot-starter</artifactId>
    <version>3.5.4.1</version>
</dependency>
4. 配置
DataSourse
spring:
  datasource:
    driver-class-name: com.mysql.cj.jdbc.Driver
    url: jdbc:mysql://127.0.0.1:3306/database1123?useUnicode=true&characterEncoding=utf-8&useSSL=false&serverTimezone=Asia/Shanghai
    username: root
    password: 12345
MyBatis-Plus
mybatis-plus:
  mapper-locations: classpath*:/mapper/**/*.xml # mapper.xml 路径
  type-aliases-package: com.example.springboot2311.entity # 实体类别名路径
全部配置
server:
  port: 8080
  servlet:
    context-path: /demo
    session:
      timeout: 3600

spring:
  datasource:
    username: ENC(HfL8T3J805i6I8WYfgZ3mg==)
    password: ENC(pOlhM6SaHv5jhKl5dxtdtg==)
    url: jdbc:mysql://127.0.0.1:3306/database1123?useUnicode=true&characterEncoding=utf-8&useSSL=false&serverTimezone=Asia/Shanghai
    driver-class-name: com.mysql.cj.jdbc.Driver
    type: com.alibaba.druid.pool.DruidDataSource

    # Druid 数据源专有配置,对应的是 com.alibaba.druid.pool.DruidDataSource 中的属性
    druid:
      # 数据源名称:当存在多个数据源时,设置名字可以很方便的来进行区分,默认自动生成名称,格式是:"DataSource-" + System.identityHashCode(this)
      name: druid-db1

      ########## 过滤器 ##########      # 配置监控统计拦截的filters,去掉后监控界面sql无法统计。stat:监控统计 log4j:日志记录 wall:防御sql注入
      # 如果运行时报错:ClassNotFoundException:orgapache.log4j.Priority,则导入log4j依赖即可
      filters: stat,wall

      ########## WebStatFilter:web 状态监控过滤器 ##########      web-stat-filter:
        enabled: true
        url-pattern: /*                 # 过滤所有 url        exclusions: "*.js,*.css,*.gif,*.jpg,*.png,*.ico,/druid/*"   # 排除一些不必要的 url        session-stat-enable: true       # 开启 session 统计功能
        session-stat-max-count: 1000    # session 的最大个数,默认100

      ########## StatViewServlet(监控页面路径配置),用于展示 Druid 的监控统计信息 ##########      stat-view-servlet:
        enabled: true
        url-pattern: /druid/*           # 访问内置监控页面的路径,内置监控页面的首页是 http://127.0.0.1:8080/druid/login.html 或者 /druid/index.html        reset-enable: false             # 不允许清空统计数据,重新计算
        login-username: root            # 配置监控页面登陆用户
        login-password: 12345           # 配置监控页面登陆密码
        allow: 127.0.0.1                # 允许访问的地址,如果没有配置或者为空,则允许所有访问
        deny:                           # 拒绝访问的地址,deny 优先于 allow,如果在 deny 列表中,就算在 allow 列表中,也会被拒绝
      aop-patterns: com.wmx..*.controller..*.* # Spring 监控 AOP 切入点,多个时用英文逗号分隔

# jasypt 密码加密配置
jasypt:
  encryptor:
    # 加密盐值
    password: jasypt
    # 加密算法设置 3.0.0 以后需要加上下面两个配置
    algorithm: PBEWithMD5AndDES
    iv-generator-classname: org.jasypt.iv.NoIvGenerator

mybatis-plus:
  mapper-locations: classpath*:/mapper/**/*.xml # mapper.xml 路径
  type-aliases-package: com.example.springboot2311.entity # 实体类别名路径

logging:
  level:
    com.example.springboot2311: debug
5. 扫描 Mapper 接口路径
在 Spring Boot 主启动类上添加 @MapperScan 注解
@SpringBootApplication
@MapperScan("com.example.springboot2311.mapper")
public class Springboot2311Application {

    public static void main(String[] args) {
        SpringApplication.run(Springboot2311Application.class, args);
    }

}